Posted onEdited onInangular Symbols count in article: 1.2kReading time ≈5 mins.
Introduction
This article will introduce Angular Module Federation, a new feature in Webpack 5 that allows you to share code between Angular applications.
Module Federation is a new feature in Webpack 5 that allows you to share code between applications. It enables your application to load remote modules at runtime from another application and share dependencies between applications. This feature is particularly useful for micro-frontends, where you have multiple applications that need to share code.
Steps
Create an empty angular workspace
Option --no-create-application is used to create an empty workspace without an initial application.
1
ng new angular-module-federation --no-create-application
Generate shell application shell
1
2
cd angular-module-federation ng generate application shell
Generate remote application mfe1
1
ng generate application mfe1
Add plugin @angular-architects/module-federation to shell app
1
ng add @angular-architects/module-federation --project shell --port 4200 --type host
This command will do the following:
Add @angular-architects/module-federation and ngx-build-plus to file package.json under workspace root.
Add command "run:all": "node node_modules/@angular-architects/module-federation/src/server/mf-dev-server.js" to scripts section in file package.json. This command will start the module federation development server, which will run app shell and app mfe1 at the same time.
Add file bootstrap.ts under projects/shell/src folder, its content was copied from main.ts
Add file webpack.prod.config.js under projects/shell folder,
1
module.exports = require('./webpack.config');
Update file angular.json under workspace root.
projects/shell/architect/build/builder: "@angular-devkit/build-angular:application" —> ngx-build-plus:browser - The reason for this change is that module federation is a feature provided by WebPack, but "@angular-devkit/build-angular:application" is for ESBuild, so we need to change it to ngx-build-plus:browser which is for WebPack. see here for details.
Here we use remoteEntry.js as the entry point of the remote expose module, this is the default file name, However, if you want to change it, you can update the configuration in the webpack.config.js file in the mfe1 app.
When you run the shell app, switch to network tab in the browser’s developer tool, you will see the response of the javascript file name as a random string, that’s because Webpack generates a random name for the chunk file, you can change it to a named chunk by adding the following configuration in the angular.json file in the mfe1 app.(under architect | build | configuration | development)
You can remove the remotes part in app shell’s webpack.config.js file, and update the app.routes.ts file in the shell app to load the remote module dynamically.
You can found the options of withModuleFederationPlugin in WebPack’s official documentation here, unfortunately, some property was even not mentioned in this document, you can found them in the source code of the plugin(schema file) from here
loadRemoteEntry vs loadRemoteModule
loadRemoteEntry is used to load the remote entry file, and loadRemoteModule is used to load the remote module.
loadRemoteEntry is not required, but nice to have, here is the description from github If somehow possible, load the remoteEntry upfront. This allows Module Federation to take the remote’s metadata in consideration when negotiating the versions of the shared libraries.
For this, you could call loadRemoteEntry BEFORE bootstrapping Angular:
Posted onEdited onIntypescript Symbols count in article: 376Reading time ≈1 mins.
Introduction
paths is a TypeScript configuration option that allows you to map a module name to a path. This is useful when you have a complex project structure and you want to avoid long relative paths.
Config
Add the following configuration to your tsconfig.json file.
1 2 3 4 5 6 7 8 9 10
{ "compilerOptions":{ "baseUrl":".",// This must be specified. "paths":{ "@app/*":["src/app/*"], "@shared/*":["src/shared/*"], "@utils/*":["src/app/service/others/utils/*"], } } }
baseUrl
The baseUrl option specifies the base directory to resolve non-relative module names. This must be specified when using absolute path. In above example, baseUrl is set to .(this is the same directory with tsconfig.json) which means the base directory is the root directory of the project. take “@app/*” as an example, when you import a module like import {AppComponent} from '@app/app.component', TypeScript will look for the module in the src/app directory.
if you don’t specify baseUrl, You must use relative paths to import modules. For example:
Suppose you have a file stringUtils.ts in the src/app/service/others/utils directory. You can import it like this:
1
import {stringUtils} from'@utils/stringUtils';
You don’t need to write the long relative path. TypeScript will automatically resolve the path based on the configuration in tsconfig.json.
Nx mono repo
When using Nx mono repo to create multiple app/libs, be careful when you use paths in tsconfig.json. You need to add the paths configuration to the tsconfig.base.json file in the root directory of the Nx workspace. and every tsconfig.json in each app/lib should extend tsconfig.base.json.
1 2 3 4 5 6 7 8 9
// tsconfig.json in app or lib { "extends":"../../tsconfig.base.json", "compilerOptions":{ "outDir":"../../dist/out-tsc", "types":[] }, "include":["**/*.ts","**/*.tsx","**/*.js","**/*.jsx"] }
1 2 3 4 5 6 7 8 9 10 11
// tsconfig.base.json { "compilerOptions":{ "baseUrl":".",// This must be specified. "paths":{ "@app/*":["apps/*"], "@shared/*":["libs/shared/*"], "@utils/*":["libs/shared/utils/*"], } } }
Note that tsconfig.json in app/lib has higher priority than tsconfig.base.json. If you have same configuration in both files, the configuration in tsconfig.json will override the configuration in tsconfig.base.json. this will cause some path not found sometimes.
So,
Only add paths configuration to tsconfig.base.json file in the root directory of Nx workspace.
Do not add paths configuration to any other tsconfig.json file in the app/lib.
Posted onEdited onInangular Symbols count in article: 128Reading time ≈1 mins.
What is angular ngc?
ngc stands fore Angular Compiler. It is a tool that compiles Angular applications. ngc was built on tsc(TypeScript Compiler) and extends it to support Angular.
Angular compile options
You can see the ngc compile options in the tsconfig.json file under your Angular project root.
We can see that the output directory is set to dist/out-tsc. and there is a special section angularCompilerOptions used for angular.
The following command will create a new branch from the specific commit, you can find the commit id by git log command or from the git history.
1
git checkout -b new_branch commit-hash
Undo
1. Undo last commit
git reset --soft HEAD~1 // undo the last commit and keep the changes in working directory.
git reset --hard HEAD~1 // undo the last commit and remove all changes.
2. Undo staged changes(not committed yet)
git reset HEAD file-name // unstage a file
git reset HEAD . // unstage all files
3. Undo unstaged changes(changes are not added or committed)
git checkout -- . // undo all changes in the working directory, same as git checkout .?
git checkout -- file-name // undo changes in a specific file
git checkout -- '*.js' // undo changes in all js files
4. Undo untracked files
git clean -f // remove untracked files
git clean -f -d // remove untracked files and directories
git restore和git reset的区别是什么?
Stash
git stash – save the changes git stash list – list all stashes git stash apply "stash@{n}" – apply the nth stash git stash apply n – apply the nth stash git stash pop – apply the latest stash and remove it from the stash list
Chrome
F12 - Open developer tools
Ctrl + Shift + P - Open command palette(only works after you open developer tools)
Ctrl + P - Open file(after you open developer tools), this is pretty useful when you want to find a file in the source tab.
Ctrl + Mouse Left Click - Open a link in a new tab. (also can use Mouse Wheel click)
Yarn
Input chrome://settings in the address bar to open the settings page.
Jest
jest - Run all test
jest --coverage - Run test with coverage report
jest --watch - Run test in watch mode
jest test.spec.ts - Run a specific test file
jest test.spec.ts --coverage - Run a specific test file with coverage report
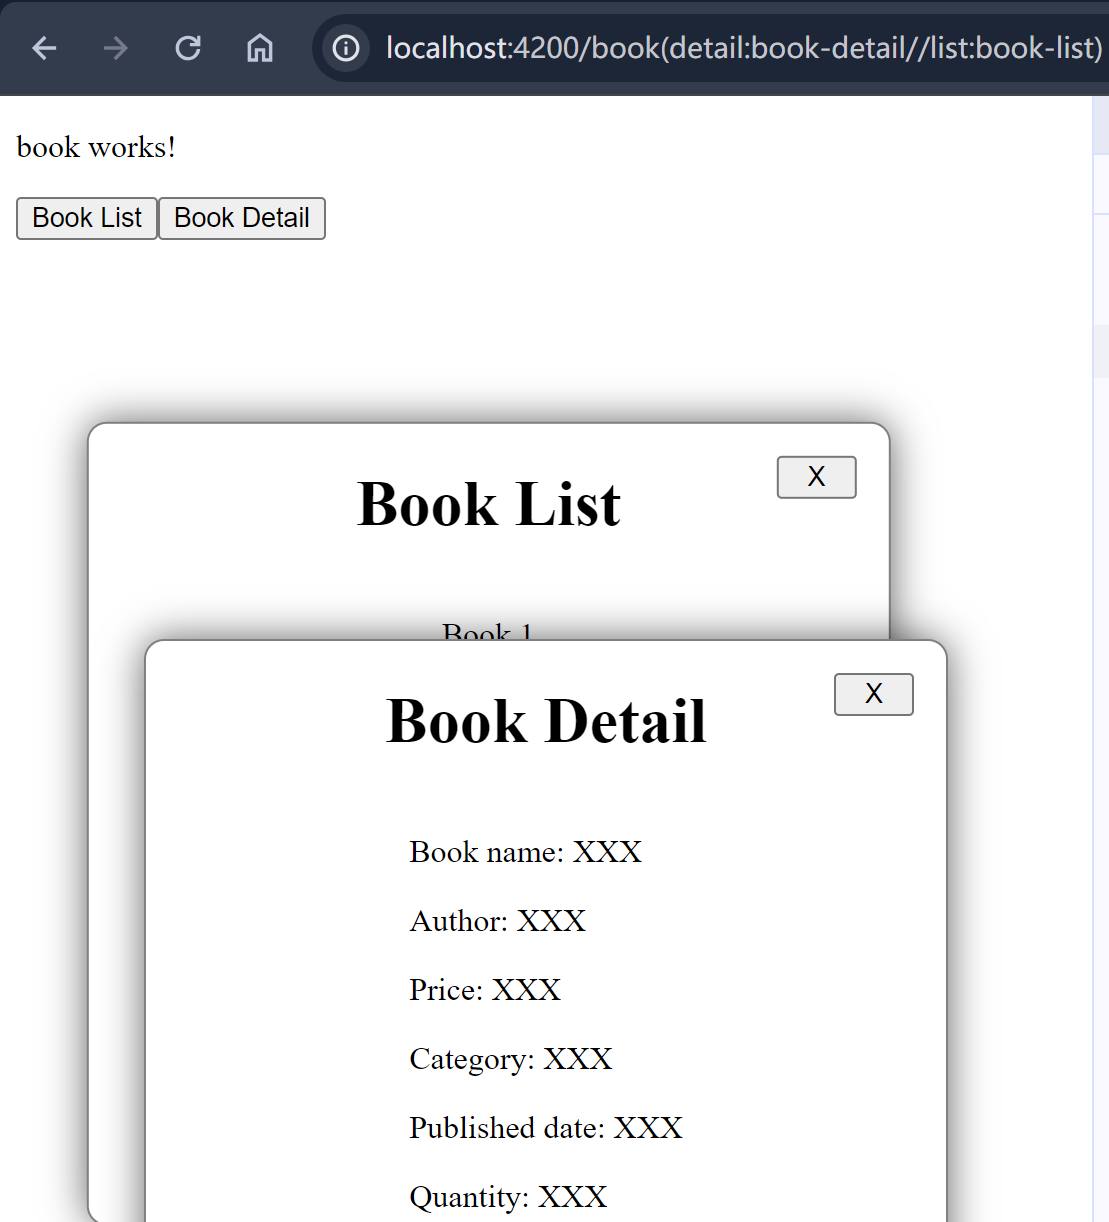
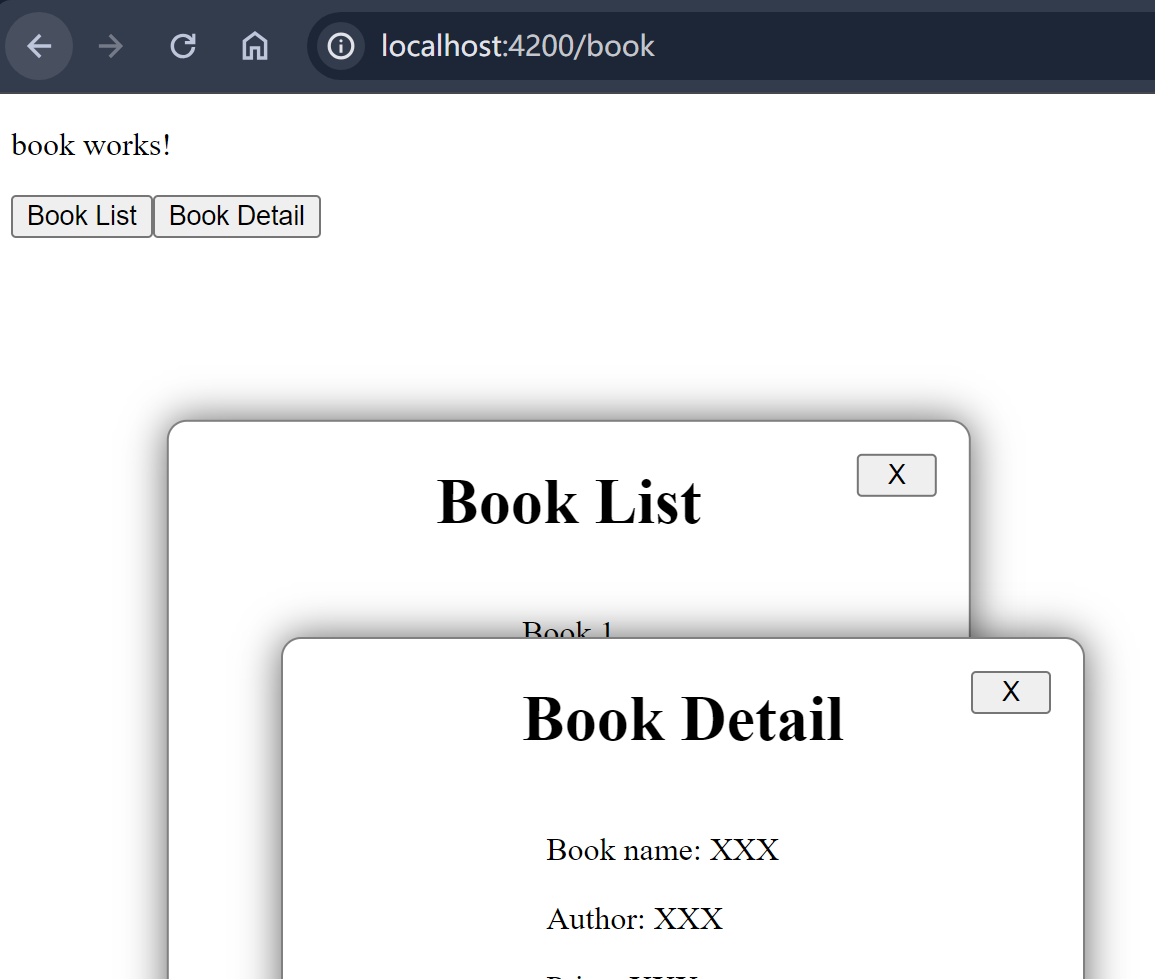
可以在routerLink中同时定义多个辅助路由,在app.component.html文件中,添加如下代码,当我们点击Book List and Details按钮时,将同时显示book-list和book-detail组件。Url也将变为http://localhost:4200/book(detail:book-detail//list:book-list)。
1
2
<!-- app.component.html -->
<a [routerLink]="[{outlets: {list: 'book-list', detail: 'book-detail'}}]">Book List and Details</a>